The Secret to 3D Anaglyphs 
Have you noticed all the recent movie titles being released in 3D? Some Red/Blue 3d glasses were given to me today and it got me thinking about how this stuff works...
One time when I was a little kid, I had gotten some 3d glasses to go with a coloring book or something, and I remember picking up a blue and red marker and attempting to recreate the 3d outlines and effects that were used in that book. I never quite got it down, but it has always captured my interest. Today, some 20 years later, I figured it out! And, its actually quite simple...
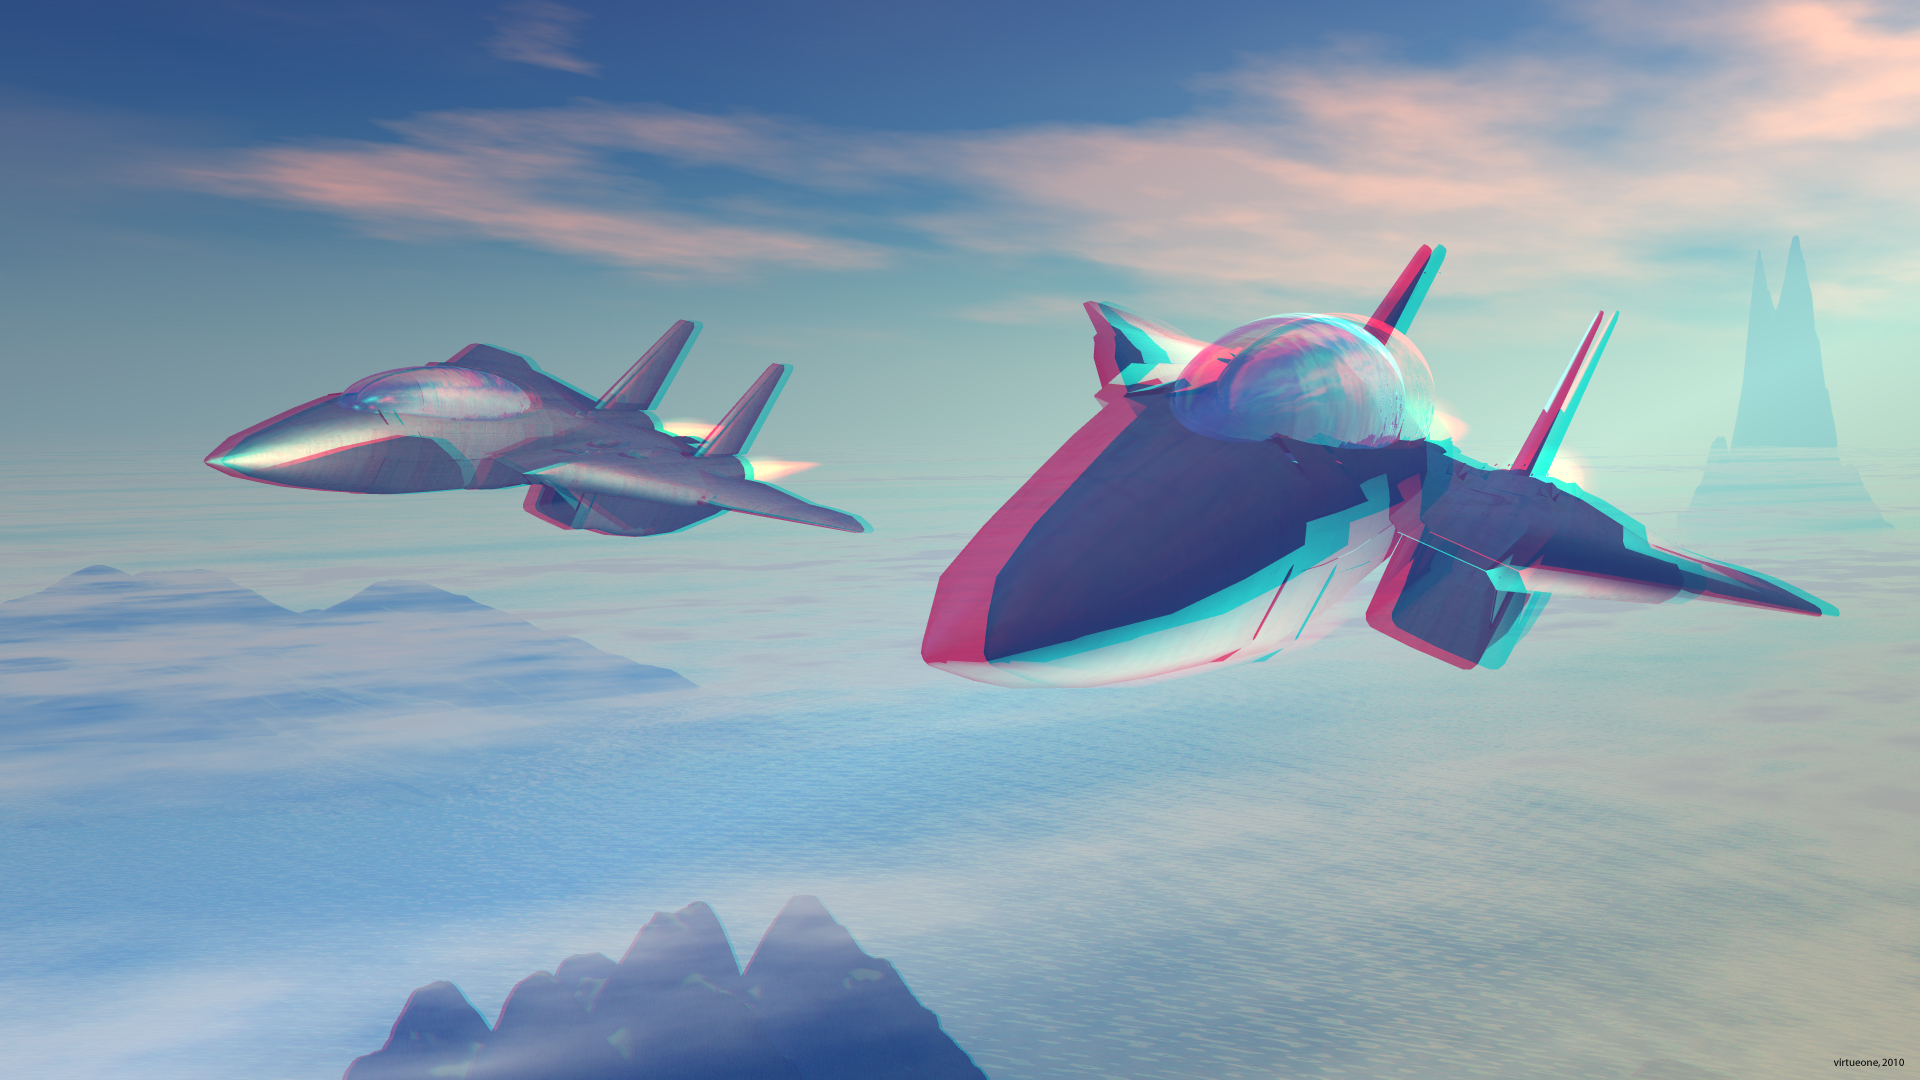
There are two key factors: image placement and color. To create a 3d anaglyph, simply take one image (Image A) and another image (Image B), overlay them, then offset their colors, so that the colored film in your 3d glasses will negate the blue and red offsets. Your brain combines the separate images each eye sees into one 3d dimensional optical illusion.
I tested this using some random flat images, but it sucks because you dont get any real depth. So, I took this idea into a 3d program to really see the awesomeness of its application. Using Bryce3D, I create a scene and render my image. Then I move the camera by just a few points horizontally and render another image. Just as if there were two eyes looking at my scene - one image/camera for each eye. The more you move the camera, the more depth is created - separating the 2 camera positions too much fails to create a 3d effect.
Open those images in a graphics editing program like Adobe Photoshop. Take the Red Channel from Image A and replace it with the Red Channel from Image B. (You can do this by selecting the "channels" tab, selecting the "Red" channel and copying and pasting.)
Thats it. You now have a full 3d image! Freakin' amazing.
In Adobe After Effects, there is a Channel Filter called "Combine Channels", which will give you the 3d effect for motion video.
For the typical RGB image, this isn't a perfect approach because the colors from the green channel aren't blocked by the glasses, leaving a minor "halo" effect in the image. Removing the Green channel solves this problem, but of course you sacrifice some color. I prefer to keep the green channel and adjust the image content for best results.
Mar 13th 2010 